Many nonprofit executive directors know that digital accessibility is a moral imperative and a legal requirement under ADA Title III. However, hiring a full third-party accessibility testing firm can cost upwards of $10,000—a budget line item out of reach for many charities.
The good news is that your internal team can perform a highly effective DIY Accessibility Audit in under an afternoon using free developer tools and basic testing protocols.
"You don't need a computer science degree to test for accessibility. You just need curiosity, empathy, and the right testing checklist."
The 4-Step DIY Accessibility Audit Protocol
1. Automated Extension Scan (WAVE & axe DevTools)
Install the free WAVE Evaluation Tool and axe DevTools browser extensions. Run a scan on your top 5 pages (Homepage, Donate, About Us, Services, Contact) to immediately identify missing alt text, empty buttons, and form label errors.
2. The Unplugged Mouse Test (Keyboard Navigation)
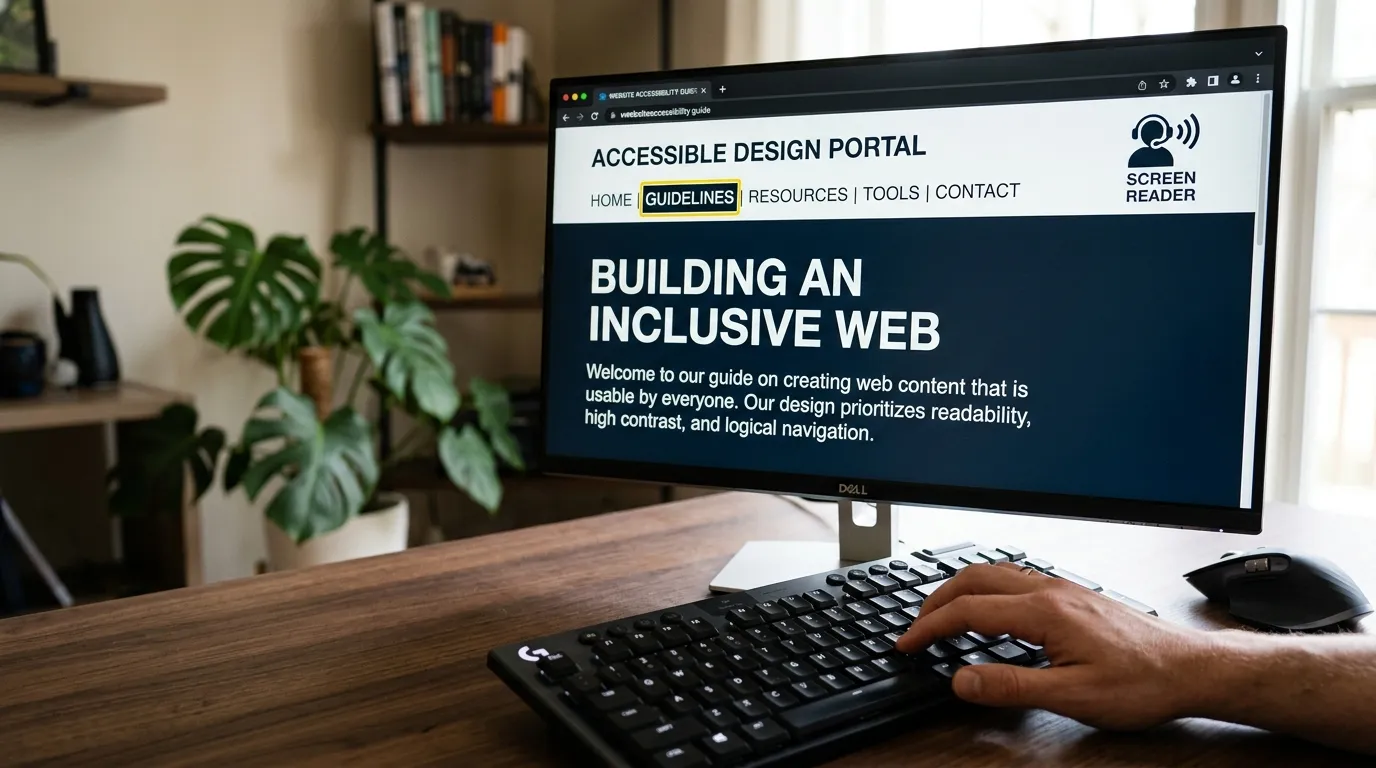
Unplug your mouse and attempt to navigate your entire website using only the Tab, Shift + Tab, Enter, and Spacebar keys. Can you see a visible focus ring on every link? Can you open dropdown menus and complete a donation form without getting trapped?
3. Color Contrast Verification
Use the WebAIM Contrast Checker to ensure all text meets the minimum WCAG 2.2 AA ratio of 4.5:1 against its background color.
4. Form Label & Error Announcement Check
Test submitting an empty donation form. Does the error message clearly explain which fields are missing, and is it accessible to assistive software?
Need professional remediation for your audit findings?
I help nonprofits remediate code-level WCAG barriers and build fully compliant digital homes.
Request Professional Remediation